Facebook has over 2.19 billion users. That’s a lot of potential candidates - and you can bet that a huge number of them aren’t on LinkedIn, which, in comparison, only has 619 million active users. Especially thinking about certain niches, like logistics, construction, or commercial industries, Facebook can be a gold mine for valuable candidates that nobody has reached out to yet. Why not be the first? Posting an ad for your recruitment agency is easier (and cheaper) than you think! Also, in a candidate-short market, you should be utilising all available resources to try to find that purple squirrel candidate.
Here is a step-by-step guide on how to set up a PPC (Pay-Per-Click) ad on Facebook.
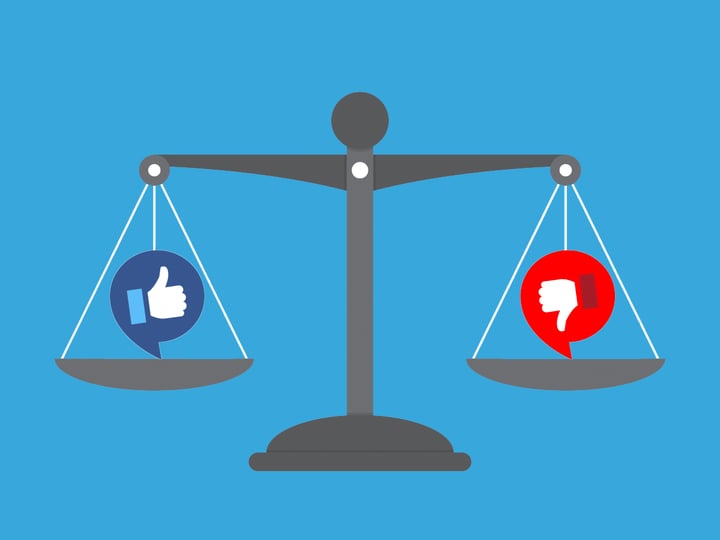
Why should you recruit on Facebook?
When you think about the potential to reach a targeted, relevant audience by using Facebook ads, you can see why they’re such a big deal for recruiters. For instance, when working on a hard-to-fill role, simply finding the best candidates to talk to can be a challenge. But the type of targeted messaging you can send out using Facebook’s algorithms provides great potential for your recruiters to reach new candidates.
Throw into the mix the fact that job boards tend to be incredibly crowded, and it’s obvious how Facebook’s paid ads can help recruiters cut through the noise and easily reach interested candidates. And with few recruitment agencies currently using Facebook’s paid advertising to promote jobs, your vacancy will stand out from the crowd and reach candidates who are less primed to ignore vacancies on the platform.
Plus, for niche roles, your ideal candidate may not be active on LinkedIn, or may not even be looking at all. Facebook’s paid advertising can help you target passive candidates and pique their interest.
How to create a Facebook paid ad
Step 1: Getting started
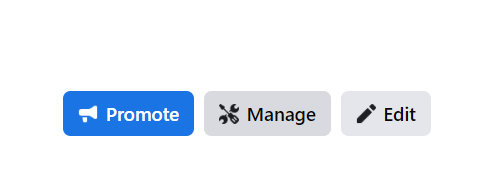
Log in to your company’s Facebook page and click on the manage button at the right-hand side at the top of your profile.
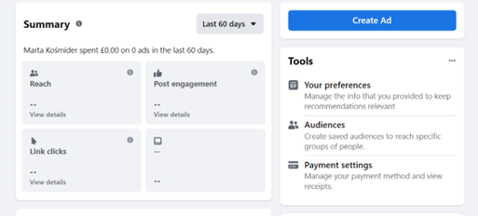
 You’ll then be taken to the professional dashboard where you can click on your Ad Centre and start creating ads. For the purpose of this tutorial, let’s head over to the ad centre and check out all the amazing features available.
Step 2: Choose your objective
In the ad centre, you can see all your previous campaigns, as well as the insights from ongoing ones.
If you want to create a new ad, simply click the ‘Create new’ on the top. The first thing to do is to choose the type of your advert:

After you’ve picked one of the options, you will be able to personalize your entire ad, starting with the goal:
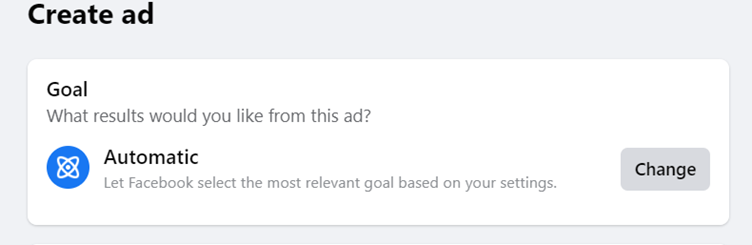
You can leave it at automatic or pick a specified goal, such as generating more traffic to your website or getting leads.
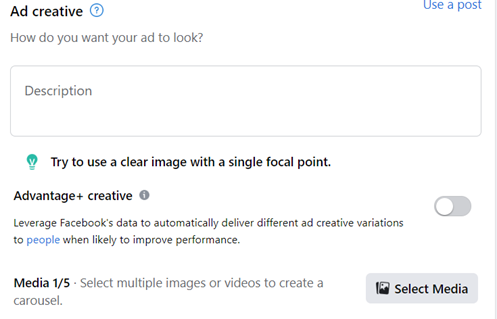
Step 3: Play around with the creative
After choosing your goal, you can personalize the look of your ad: From adding text to images or videos, you may let your creative side take over here!
Step 4: Choose your audience
The most important part: You can decide who sees your ad based on age, gender, location and hobbies/interests. Be sure to specify those last ones – what does your model candidate search for? What is he into? If you’re recruiting for Marketing Managers, for example, then you'll want to specify an interest in marketing. Once you type marketing into the “Interests” box you'll see the number of potential matches. Take a look:
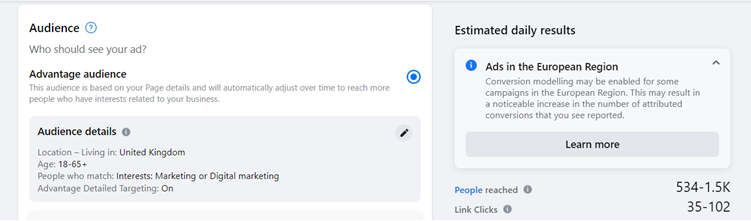
As you can see, for the chosen audience the Ad Manager shows you estimated daily reach and link clicks. 1500 potential candidates a day doesn’t sound so bad, right?
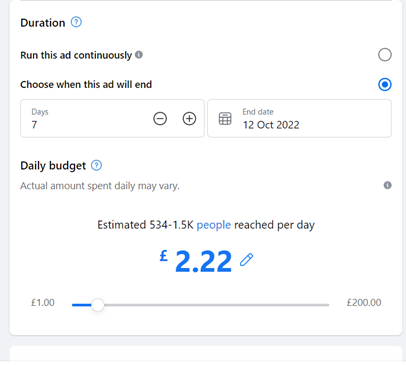
Step 5: Pricing and duration
Finally, you’ve reached the dreaded point – the payment. It’s not as bad as you think, though! You can choose a daily budget yourself and the Ad Manager will estimate the views and clicks based on that. You also need to choose duration of the ad.
Step 6: Review Your Advert
Once you’ve done all that, you can see the preview of your ad on the right-hand side. If everything looks good, simply click ‘Done’ and watch the magic happen!
Step 7: You're Done!
Now it's time to sit back and let your ad bring in some fresh candidates!
Step 8: Keep an eye on performance and make changes as needed
You may be finished but don’t forget to keep an eye on your ad while it’s running. If it’s not performing, make sure you’re making changes to try and maximise your budget and reach the most targeted audience that you can!
And poof, we’re done! With 2023 approaching, it’s time to think about your marketing budget – and perhaps throw some Facebook advertising into the mix!
To learn the ins and outs of creating a successful Facebook campaign from start to finish, have a read of our eBook: